Check out these guides to make the most of the Seavu Seeker and its accessories.
Mounts and Accessories
Mounts

Mounting Your Seeker
- Use Longneck Mounts for superior grip and stability. These mounts secure the Seeker and provide flexibility for various filming angles.
- Opt for Quick Release Mounts to easily attach and detach the Seeker and camera to a surface or stand, ideal for quick setup changes.
- Affix the buckle to the Seeker’s finger mount with the tail facing forward to ensure the Seeker and camera are centered when mounted.
- Slide the Seeker into the quick release base. Ensure it clicks or check visually that it is securely locked in place.
Most of our Seeker accessories are supplied with long neck quick release mounts to enhance ease of use.
Cable Fastener
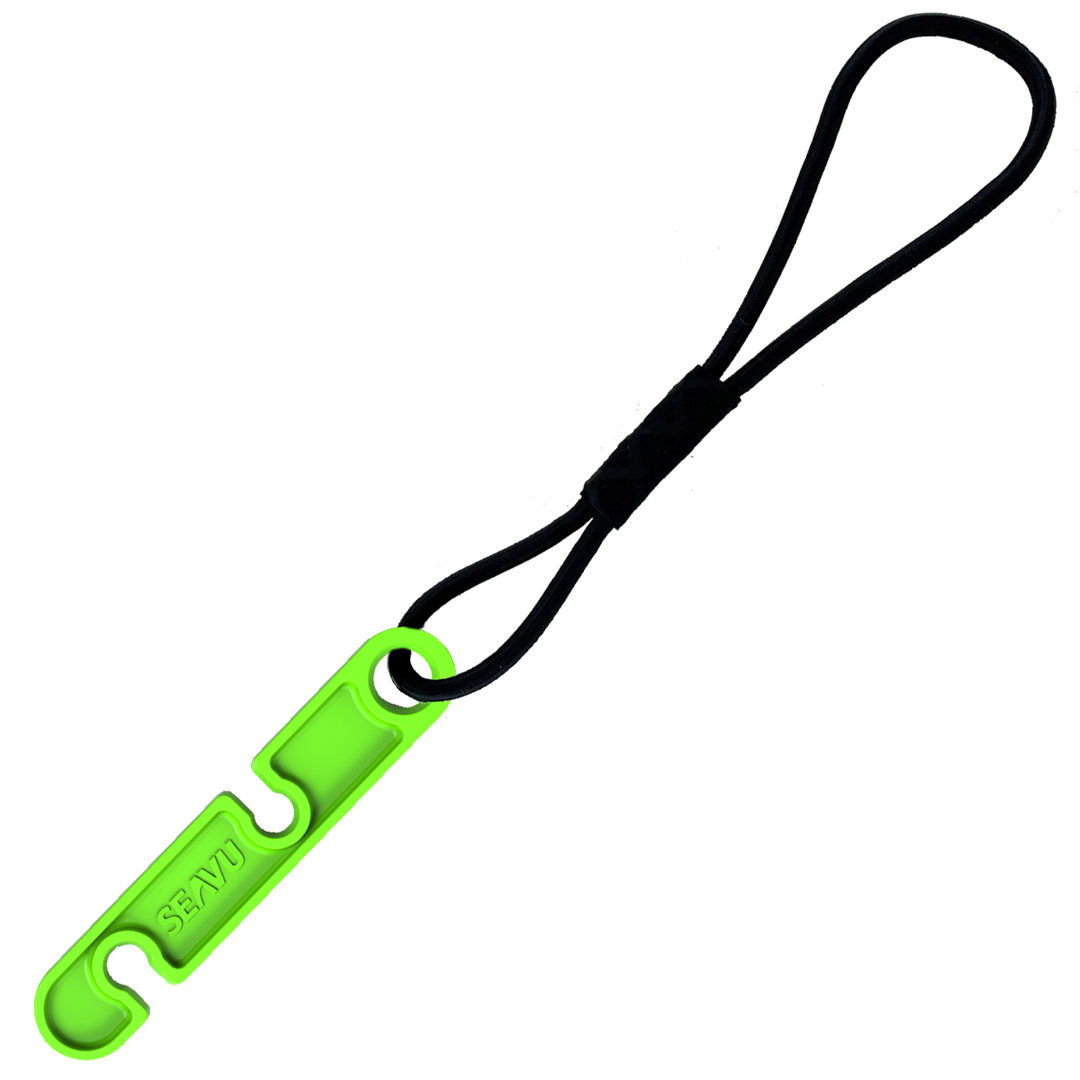
Securing the Livestream Cable at Desired Depth
- Attach Bungee Cord: Secure the bungee cord to a boat cleat or loop it around a sturdy rail, ensuring it is tightly fastened.
- Arrange Livestream Cable: Thread the livestream cable through the slots in the green attachment, adjusting the cable to the desired length and securing it in place.
Burley Pot Mount
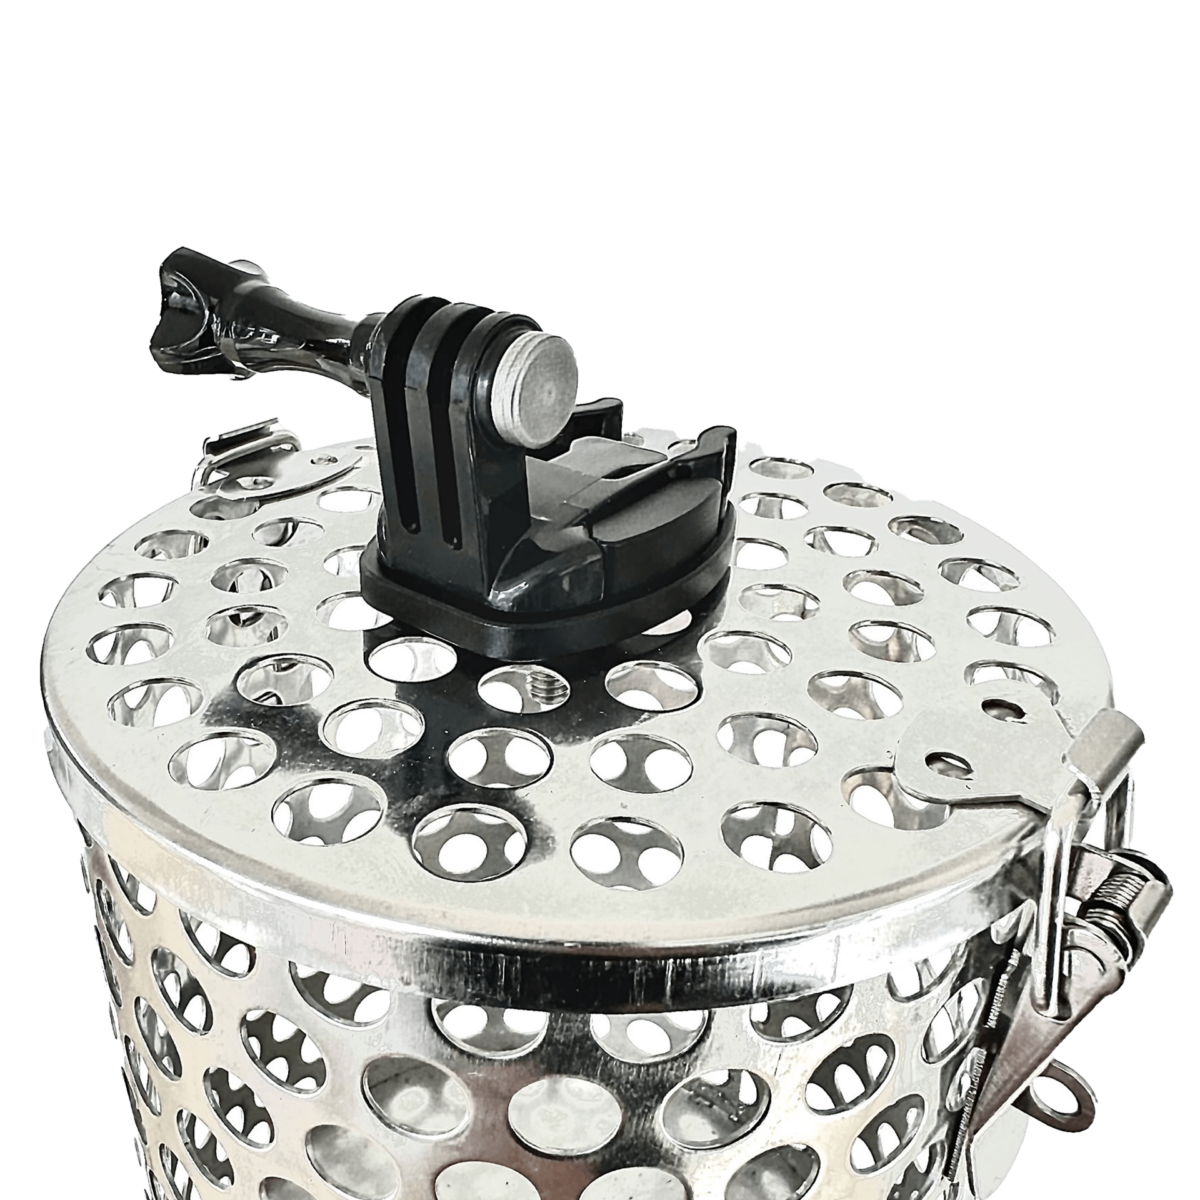
Mounting the Seeker and Camera to a Burley Pot
- Position the Mount: Locate the central top hole on your burley pot. If there isn’t a hole, drill one at this location.
- Secure the Mount: Insert washers on both sides of the nut and tighten firmly to ensure the mount is secure.
- Attach the Quick Release Buckle: Affix the quick release buckle to the Seeker’s finger mount, ensuring the buckle tail faces forward. This alignment helps center the Seeker and camera when clipped onto the burley pot mount.
- Clip onto Burley Pot Mount: Securely clip the mounted system onto your burley pot.
Important Notes:
- Use a Rope: Always attach a rope to your burley pot for safe deployment and retrieval. Do not use the livestream cable as a substitute for the rope.
- Cable Slack: Ensure to leave adequate slack in the livestream cable to minimise tension.
Pole Mount
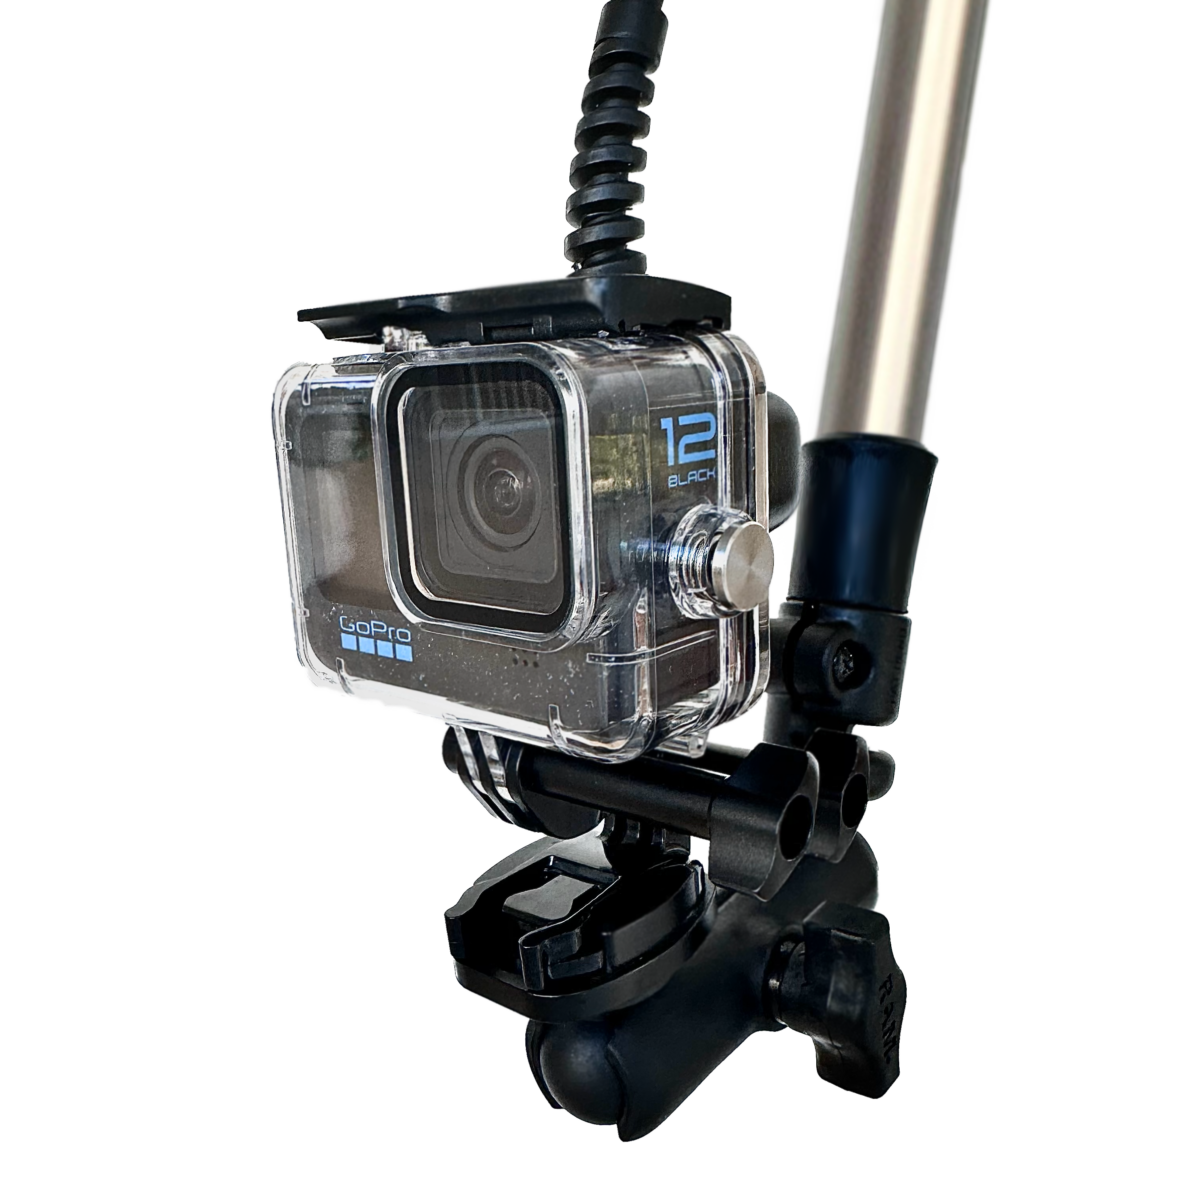
Mounting Your Seeker and Camera to an Extension Pole
- Secure the Base: Attach the female base to the pole and tighten the screw to ensure the fitting is firm and secure. The female hole base is compatible with most common telescoping and extension poles.
- Install the Ball Arm: Fit and tighten the ball arm to the base and the camera mount at the desired angle.
- Attach the Seeker and Camera: Choose between the two custom GoPro-style camera mount adapters: the fixed finger mount or the quick-release buckle mount. Ensure the Seeker and camera are securely attached to the chosen mount.
- Adjust Camera Orientation: We recommend mounting the camera upright and activating the orientation lock on your camera to ensure footage is captured in the correct orientation.
Weight
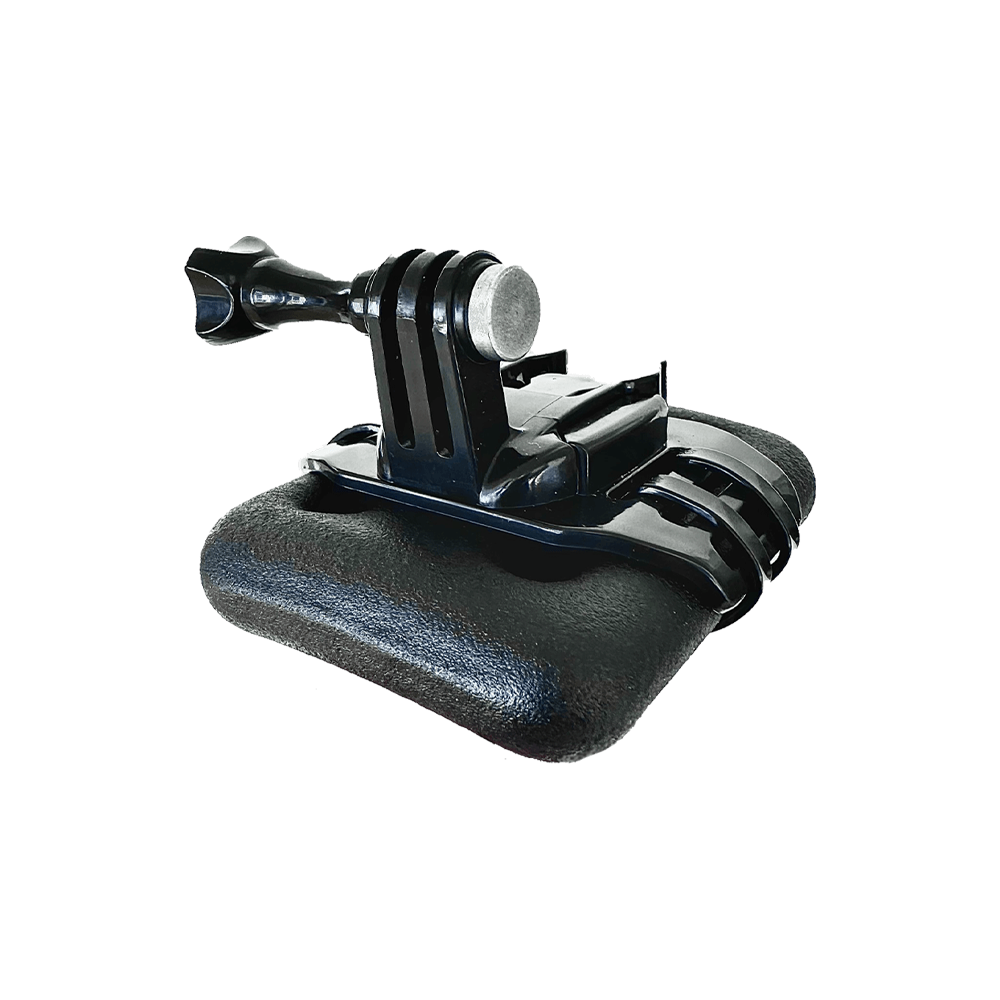
Mounting Your Seeker and Camera to a Weight
- Attach the Quick Release Buckle: Affix the quick release buckle to the Seeker’s finger mount, ensuring the buckle tail faces forward. This alignment helps center the Seeker and camera when clipped onto the weight.
- Clip onto Weight: Securely clip the mounted system onto your weight.
Current Fin
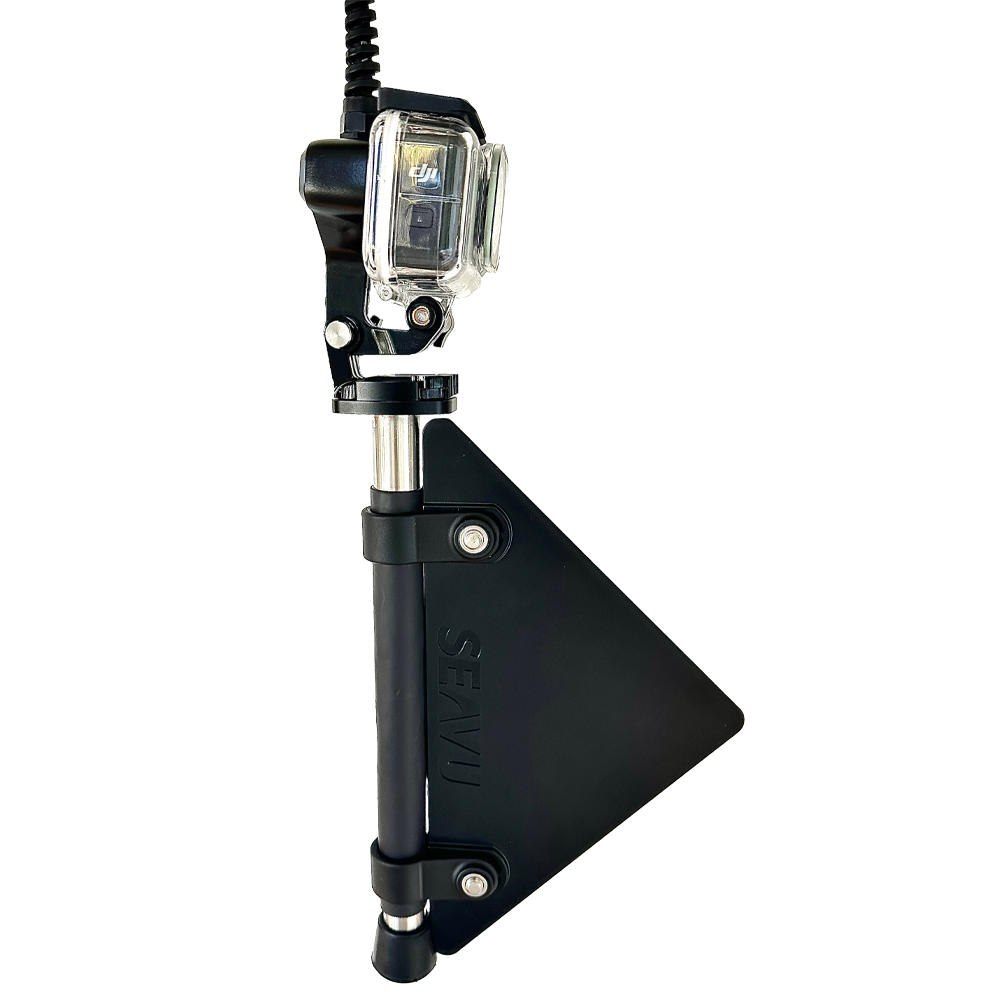
Mounting Your Seeker and Camera to a Current Fin
- Attach the Quick Release Buckle: Affix the quick release buckle to the Seeker’s finger mount, ensuring the buckle tail faces forwards. This orientation centres the Seeker and camera when clipped onto the fin.
- Utilise the Weighted Fin: The 1kg weighted fin reduces buoyancy and points the fin in the direction of the current. Since most marine life swim into the current, to capture marine life head-on, it is advised to have the fin pointed in the same direction as the camera.
- Adjust Camera Angle: If you wish to point the camera in a direction different from the current, first loosen the fin mounts. Then, rotate the fin to the desired angle and tighten the mounts to secure it in the new position.
Buoy
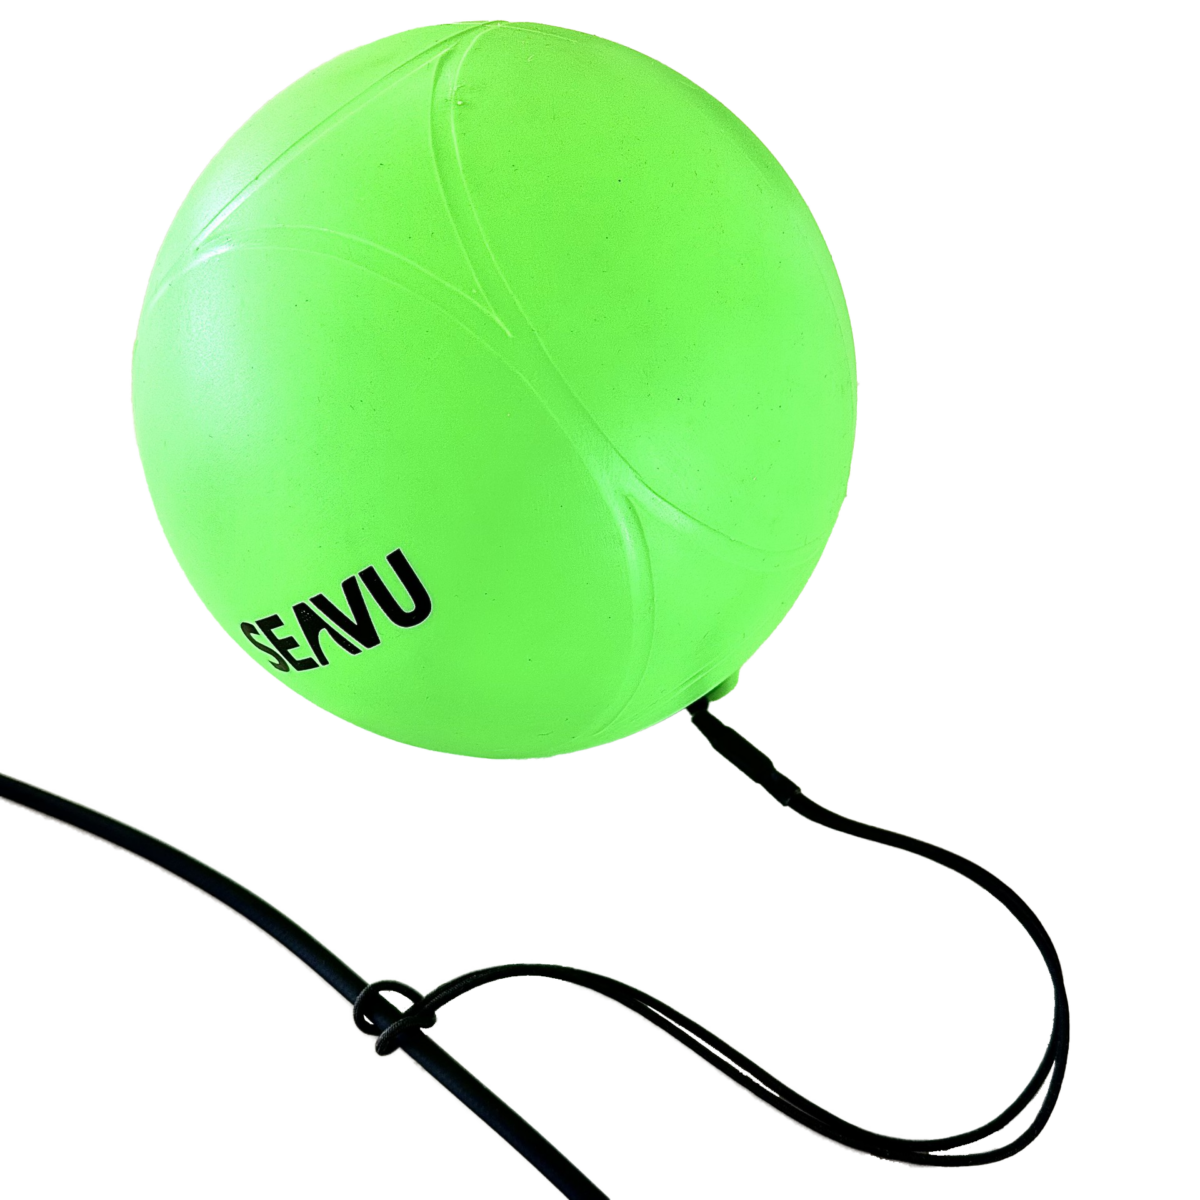
Using the Seavu Buoy to Suspend Your Seeker and Camera Underwater
- Inflate the Buoy: Use the included needle to inflate the buoy to the desired firmness.
- Attach the Buoy:
- Determine the desired depth for your Camera.
- Loop the cord around both the cable and the buoy itself at this point.
- Pull the cord to ensure it holds snugly around the cable, securing the buoy in place at the desired depth.
Cable Reel

Using the Seeker Cable Reel
Follow these steps to correctly set up and manage your Seeker Active cable with the Seeker Cable Reel:
- Remove Front Facia Plate: Start by removing the front facia plate. Use a Phillips screwdriver to undo the three screws securing it in place.
- Thread Transmitter Through Drum: Feed the Seeker Transmitter through the opening in the drum from the rear.
- Reattach the Facia Plate: Now thread the transmitter through the centre hole in the facia plate, then reattach the plate using the three screws.
- Pre-Thread 2–5m of Cable: Depending on your setup, pull through 2 to 5 metres of cable before winding. This gives you slack for easy connection to your phone or tablet.
- Wind Cable Onto Arms: Secure the pre-threaded length by winding it neatly onto the two side arms.
- Wind Remaining Cable Onto Drum: Now reel the rest of the cable onto the main drum, ensuring it is layered evenly to prevent tangles.
- Use the Brake to Lock the Drum: To hold the drum in place during use or transport, engage the brake located at the rear of the reel.


